If you’re a designer or a writer or just an individual who wants variety in your work that is filled with a lot of texts then you like custom fonts. The default fonts that come with the PC don’t add many varieties, so you look for custom fonts eventually. First of all, there’s a question about how to find free fonts online? Here we come to Free Font Vault can help you with that or just search on search engines you will find a lot of sites that will provide you with a lot of fonts. Let’s go into the topic – how to install fonts on Windows PC?
I will discuss two methods here. The first one is simple and handy for one or two fonts. The second one is for multiple fonts. Which is a very time-saving method.
Simplest Method
After downloading the fonts, you already found that they are in zip format. To unzip right click on the file then extract here from the options. But you’ve got to have a program like WinRAR or 7-Zip. The first one is the paid software, the second one is free. If you’ve them pre-installed then there is no need to install them again.
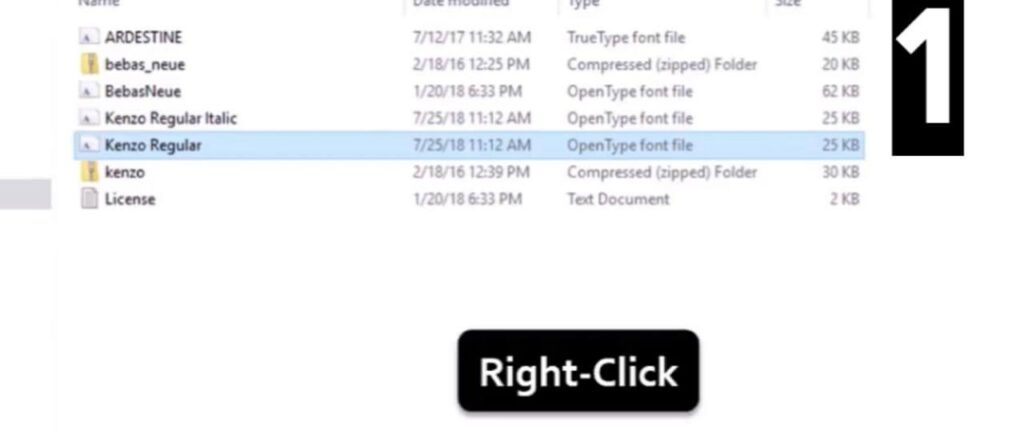
After unzipping the file, you’ll get files with.ttf (TypeFace Font) or.OTF (OpenType Font) format. Select a font, right click on it then select install.The font will be installed. It is that simple. See the following pictures:
Right Click-
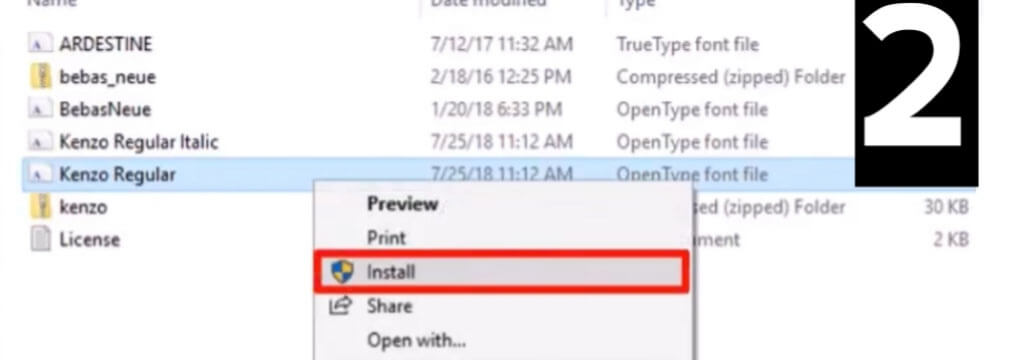
Now, from the drop down menu Click Install-
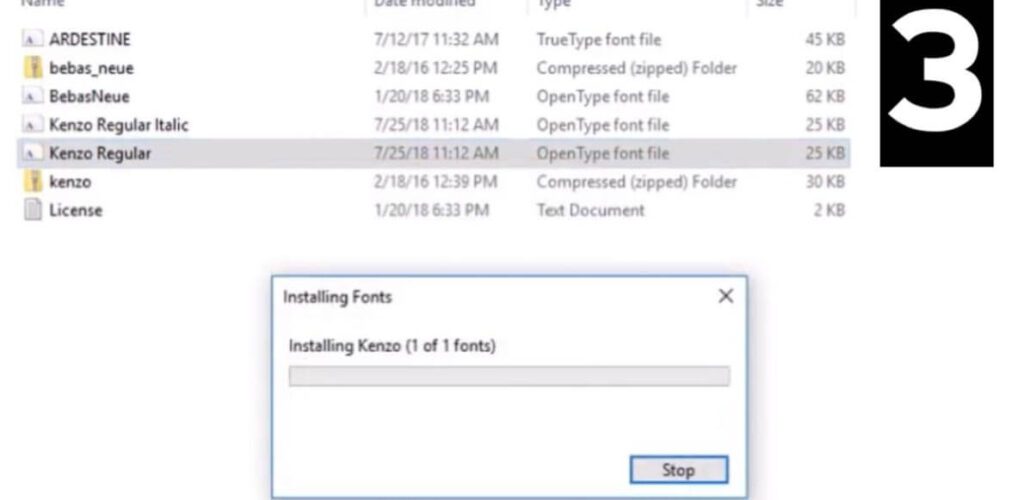
Now, the system will Installing the font –
Drag & Drop/Copy & Paste Method
This is a very useful method and solves a very important question, “How to install multiple fonts on windows”. Here’s step by step method to do it. Remember this is universal for all windows computers. Whether you use Windows XP, Windows 7, Windows 8 or Windows 10, this method is the same for every version of windows out there.
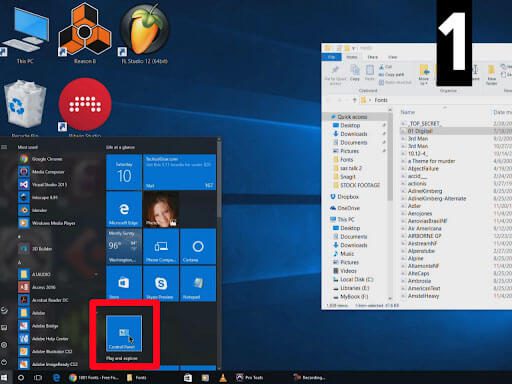
Go to the Start Menu > Go to the Control Panel. If you don’t find your control panel in the start menu, then type control menu. You will get it.
Click Install-
OR,
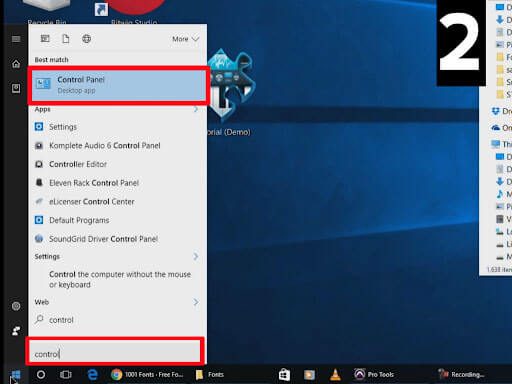
Your control panel may look different than mine, but all are the same. This is a snapshot from windows 10.
Click Install-
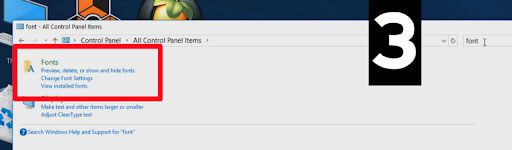
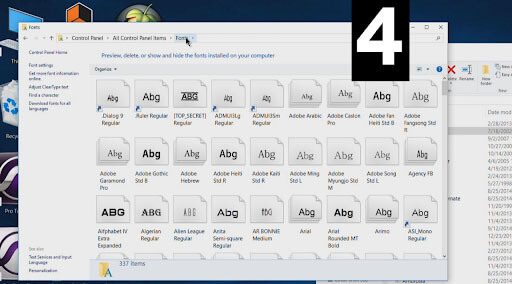
Now go to the top right corner of the window, where the search feature is. Type in the Fonts and click Enter. The results will show you the system font folder. Open it. The folder will look like this with all of the fonts available in the PC:
Click Install –
Minimize the previous window. Now go to the folder where all your downloaded fonts are. Maybe there you have 50 or more fonts. But I have more than one thousand fonts on my folder showing in the following picture.

Select all the fonts by using the mouse or by using the keyboard shortcut. Ctrl+A for selecting all the files, Ctrl+C copy them.

Click Install –
Then return to the Fonts folder. Paste the selected items there using Ctrl+V. Or just drag the items using the left button on mouse – hold the mouse and move them in the Fonts folder and now release the button. An installation window will appear and all of your fonts will be installed in a few seconds.

Congratulations! You’ve successfully installed custom fonts on your windows computer. Thanks for reading. If you have any questions ask us without any hesitation.
Checkout – How to install fonts in MAC?