If you’re a designer or a writer or just an individual who wants variety in your work that is filled with a lot of texts then you like custom fonts. The default fonts that come with the PC don’t add many varieties, so you look for custom fonts eventually. First of all, there’s a question about how to find free fonts online? Here we come to FreeFontVault.com can help you with that or just search on search engines you will find a lot of sites that will provide you with a lot of fonts. Let’s go into the topic – how to install fonts on Mac?
Simplest Method
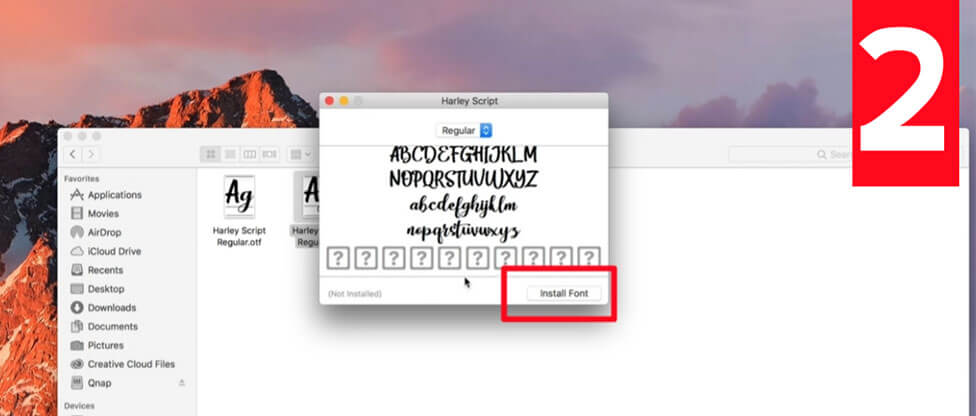
After downloading a font, let’s say Marvel font. It came in a zip format. Just double click on the file and it will unzip immediately. The fonts basically come with .ttf (TrueType Font) or .OTF (OpenType Font) format. Click on the font files. It will open like the picture below.

Click the Install button down on the right corner. It is marked in the picture below.
Your font is now installed. But, let’s say you’ve more than one font. 2 Maybe? Opening and installing each font for that amount doesn’t look messy. But when you’ve more than 10 or even 100? What to do then? Let’s move into the next method.
Drag and Drop Method / Copy-Paste Method
This is very useful for installing multiple fonts. It saves time, a better way to install multiple fonts. and very easy to do. Let’s dig deep into the topic “How to install multiple fonts in a Mac PC?”.
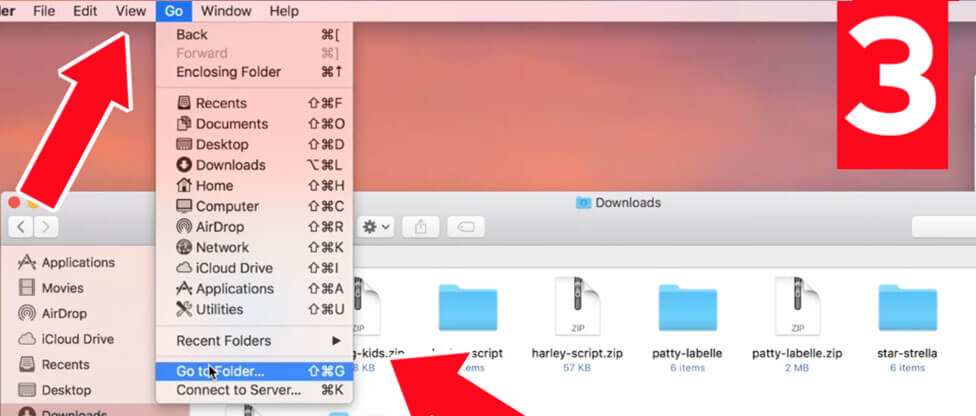
After downloading the font file, you certainly know the next process as I have mentioned earlier. Unzip the zip file. Reveal all the fonts inside the zip box. Then minimize the window or drag it to smaller versions. Then click GO at the top of the page and hold the options key.
There’s a lot of options there. No worries, go down and click Go to Folder.
Type this code in /Library/Fonts/ and click go.

This is your system-wide font folder. Where you can install all your desired fonts for the entire computer. All of the fonts you’ll see there are the default fonts that came with your Mac.

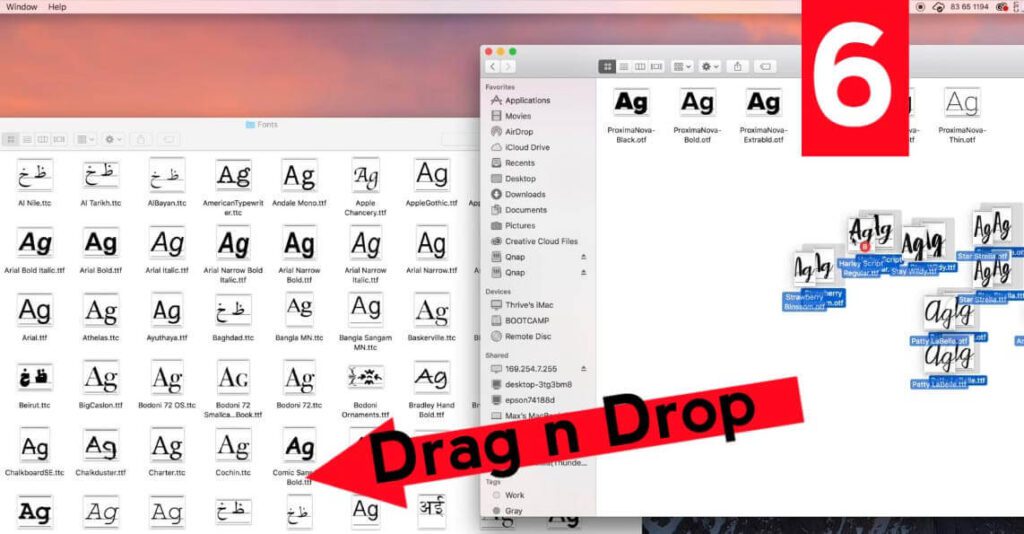
Now, look at your sidebar and there should be a download folder. Right-click on the download folder (where your downloaded fonts are) and click open on a new window. Double click your zip file and it will be unzipped. Select all the font files and drag them to the other window in which the system font folder is open. Drop all the fonts there. They will be installed instantly. Or, select the files, copy them and then paste in that folder.
Now all your fonts have been installed perfectly. Just restart your word program or the editing tool. They will find all your fonts. Another way to be sure is, there is a search feature in the top right corner of the window. Search for your font if you find it. Your font is installed correctly.
Note: The first method only installs fonts of the Mac user you’re currently logged into your PC. This means you’ve multiple users in our PC, you need to install the font individually for every user.
But, after using the second method the fonts will be installed in your computer system-wide, for everyone.
Checkout – How to install fonts on PC?
Thanks for reading. If you have any questions, let us know.